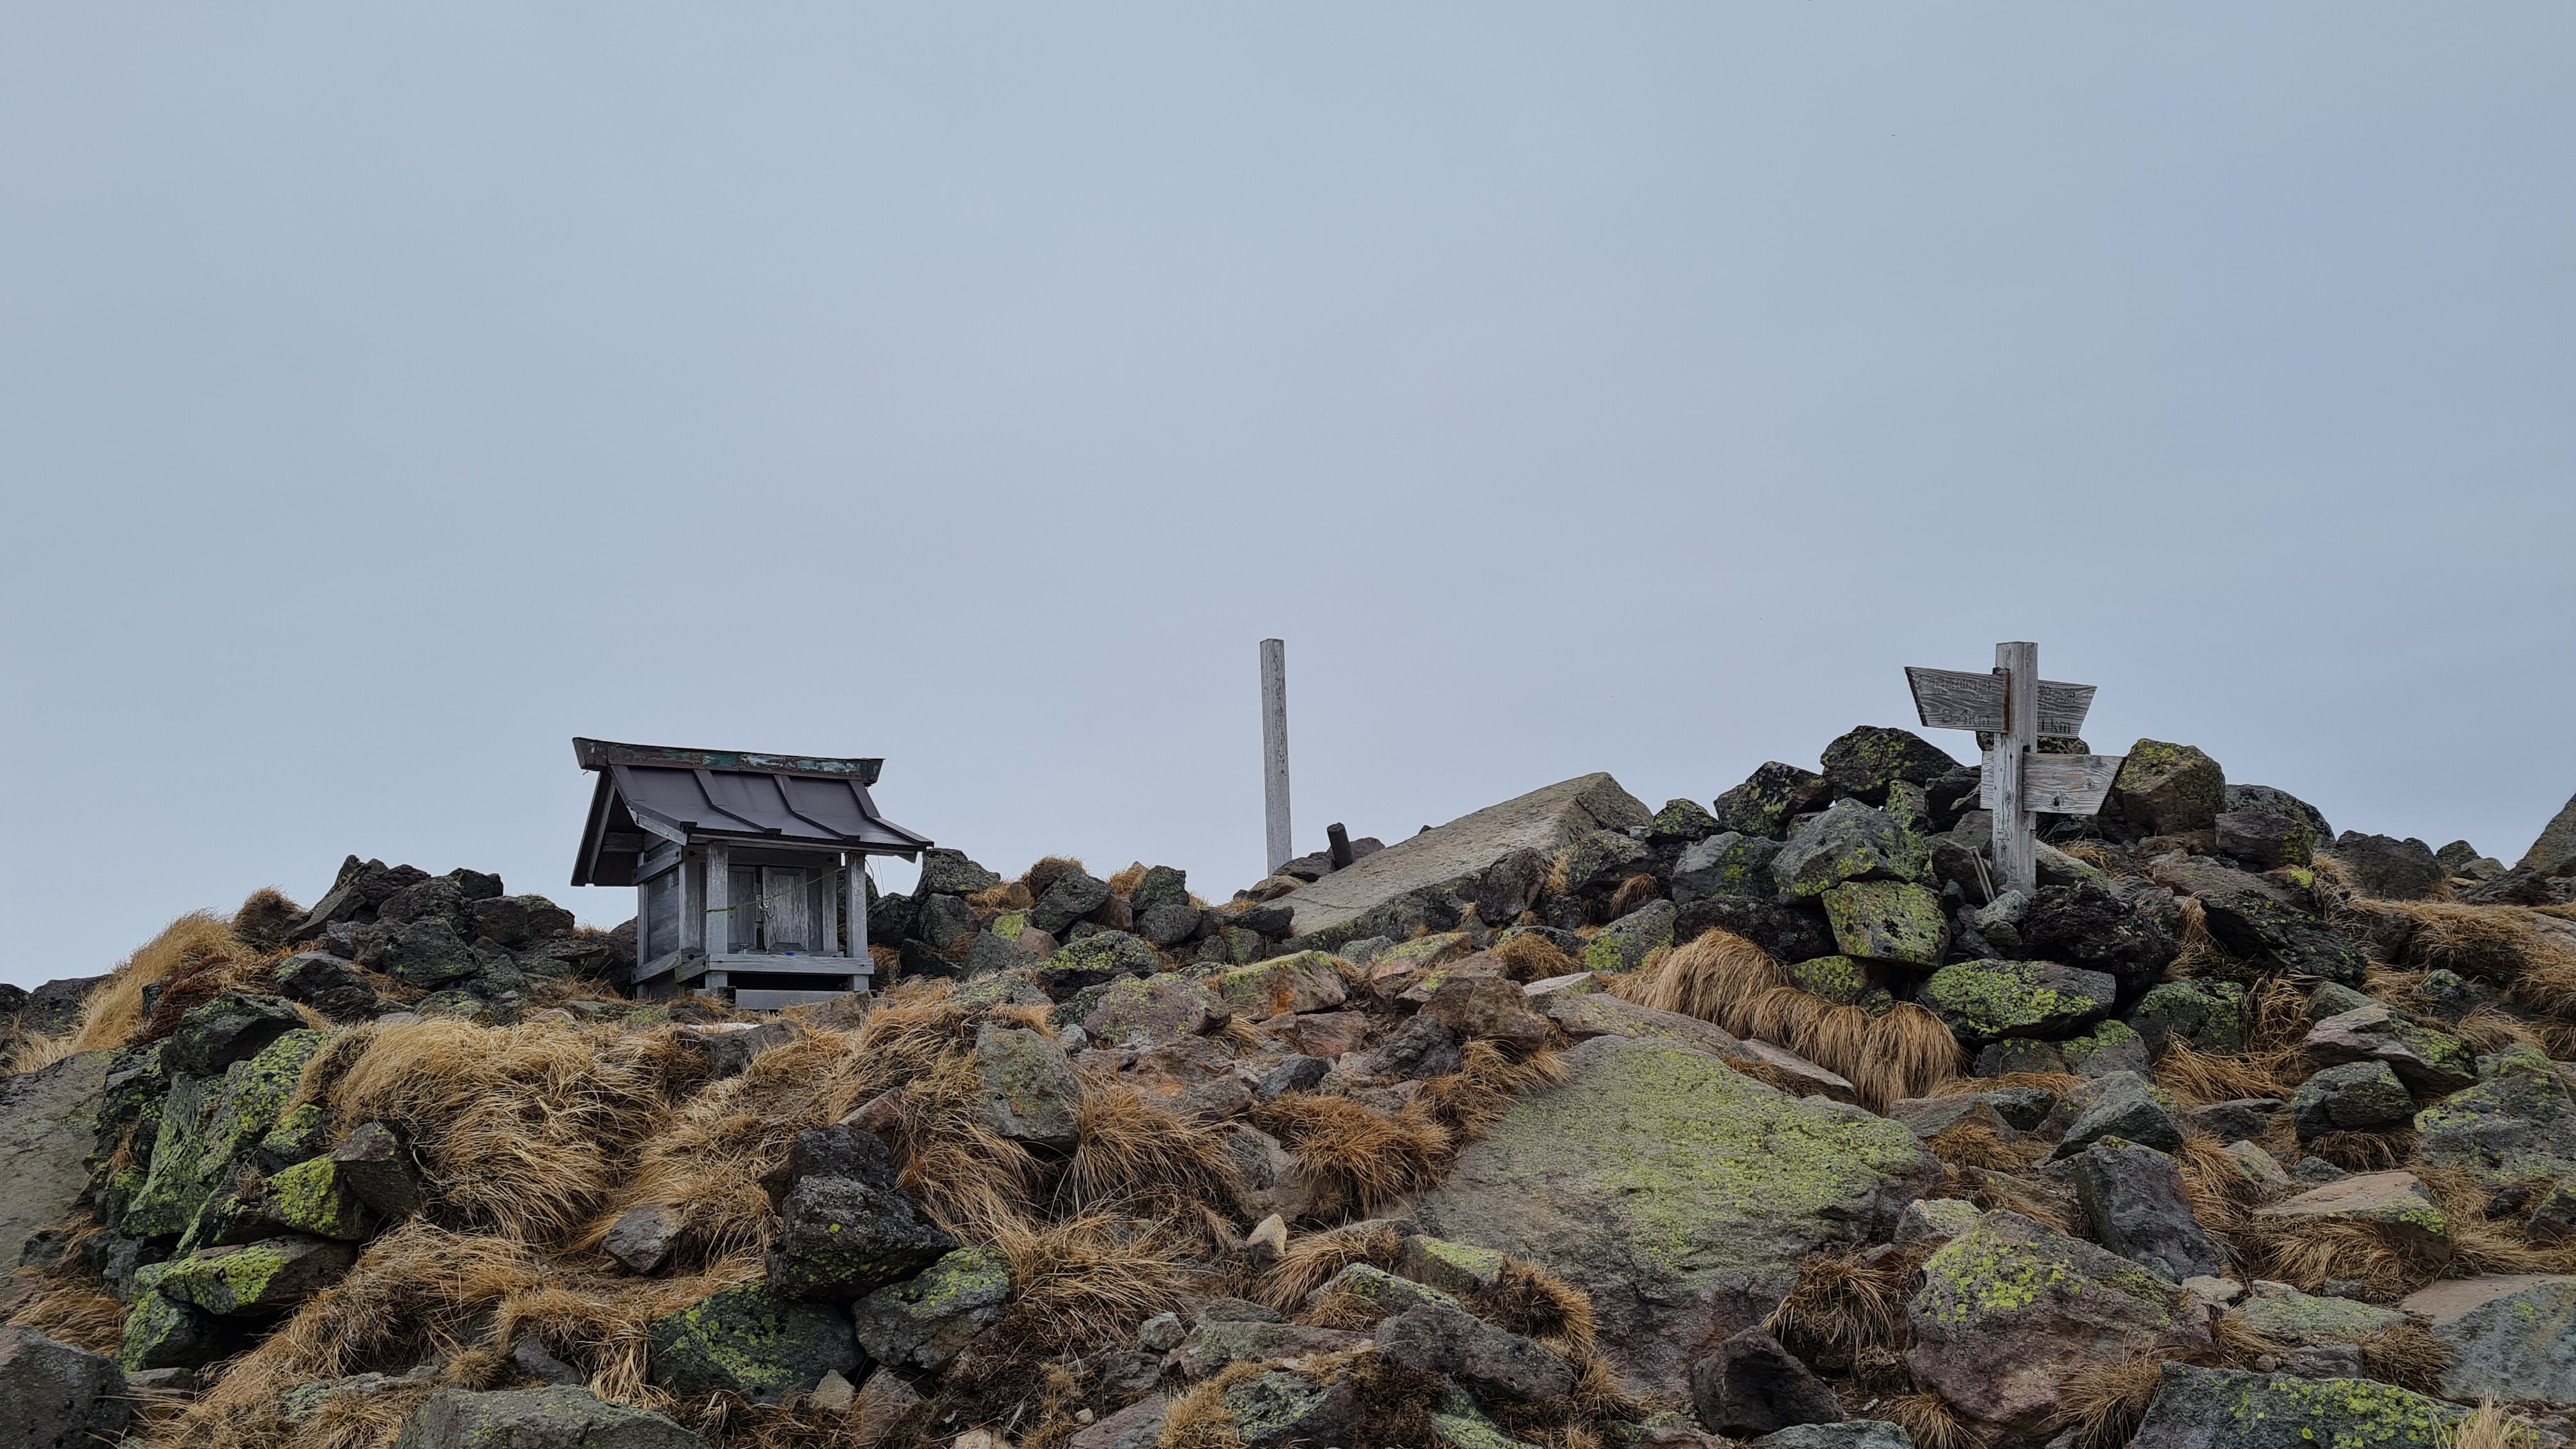
%20Mt.%20Nikko-Shirane.png)
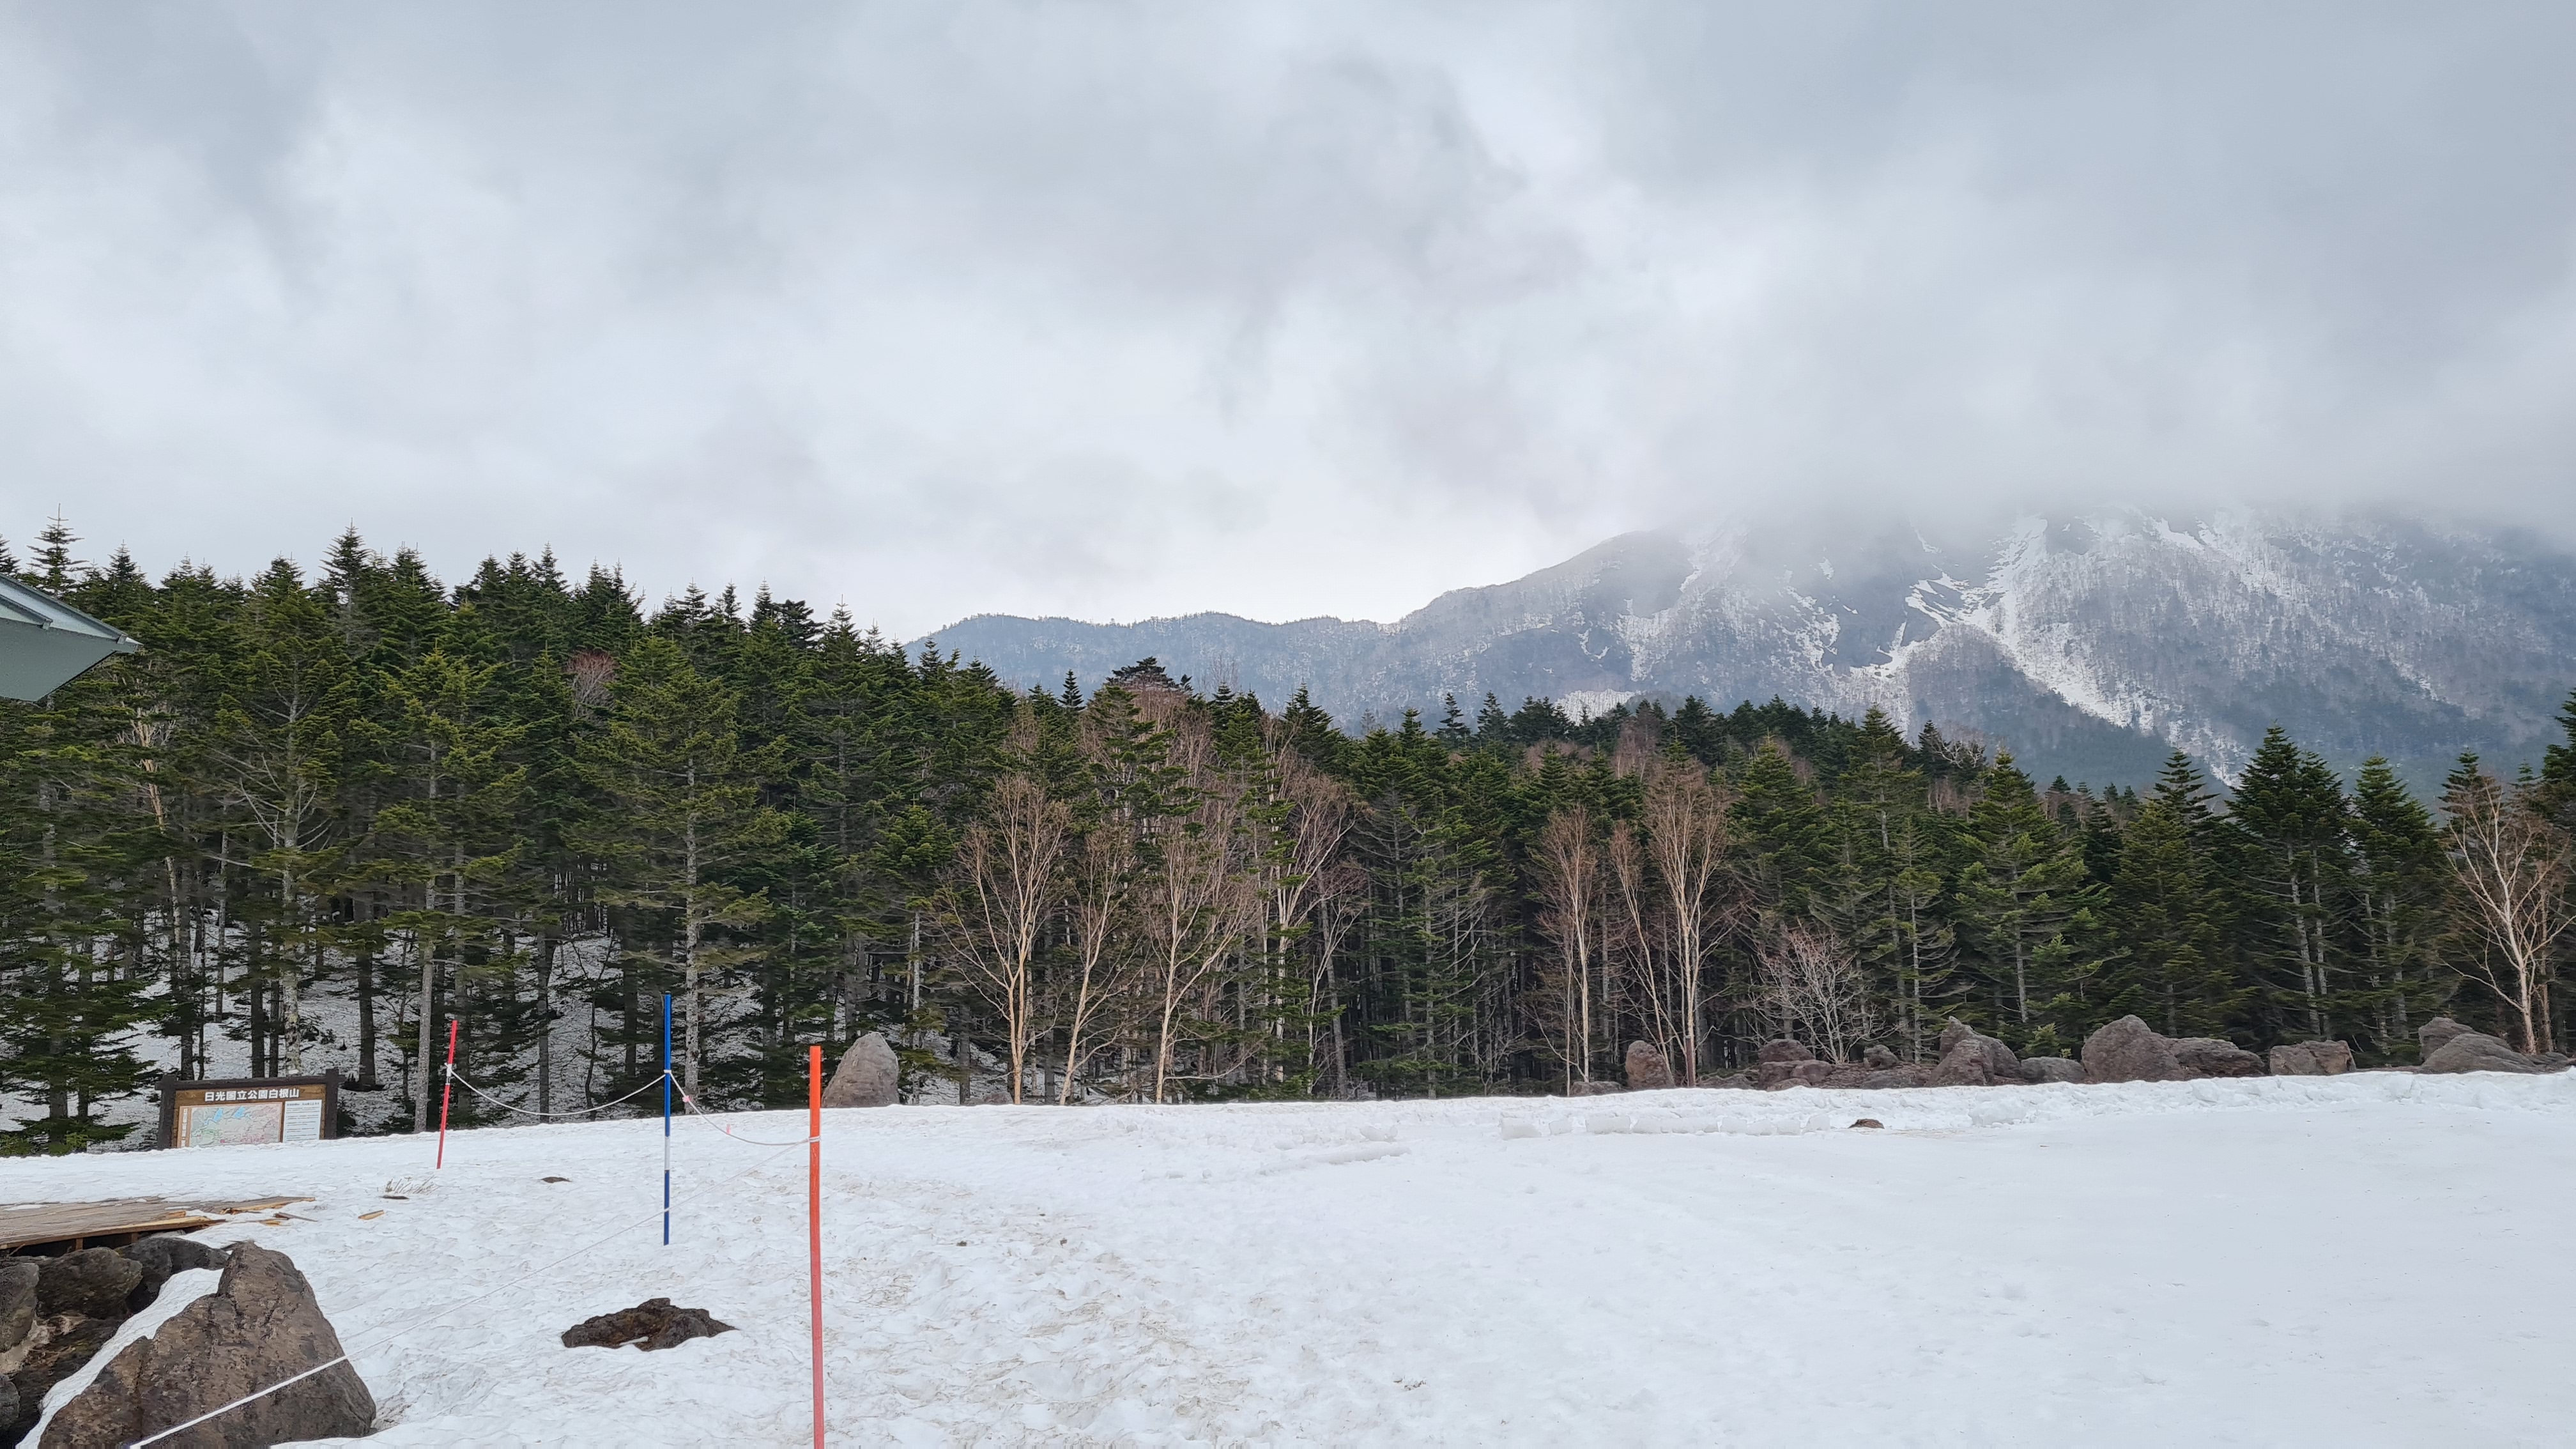
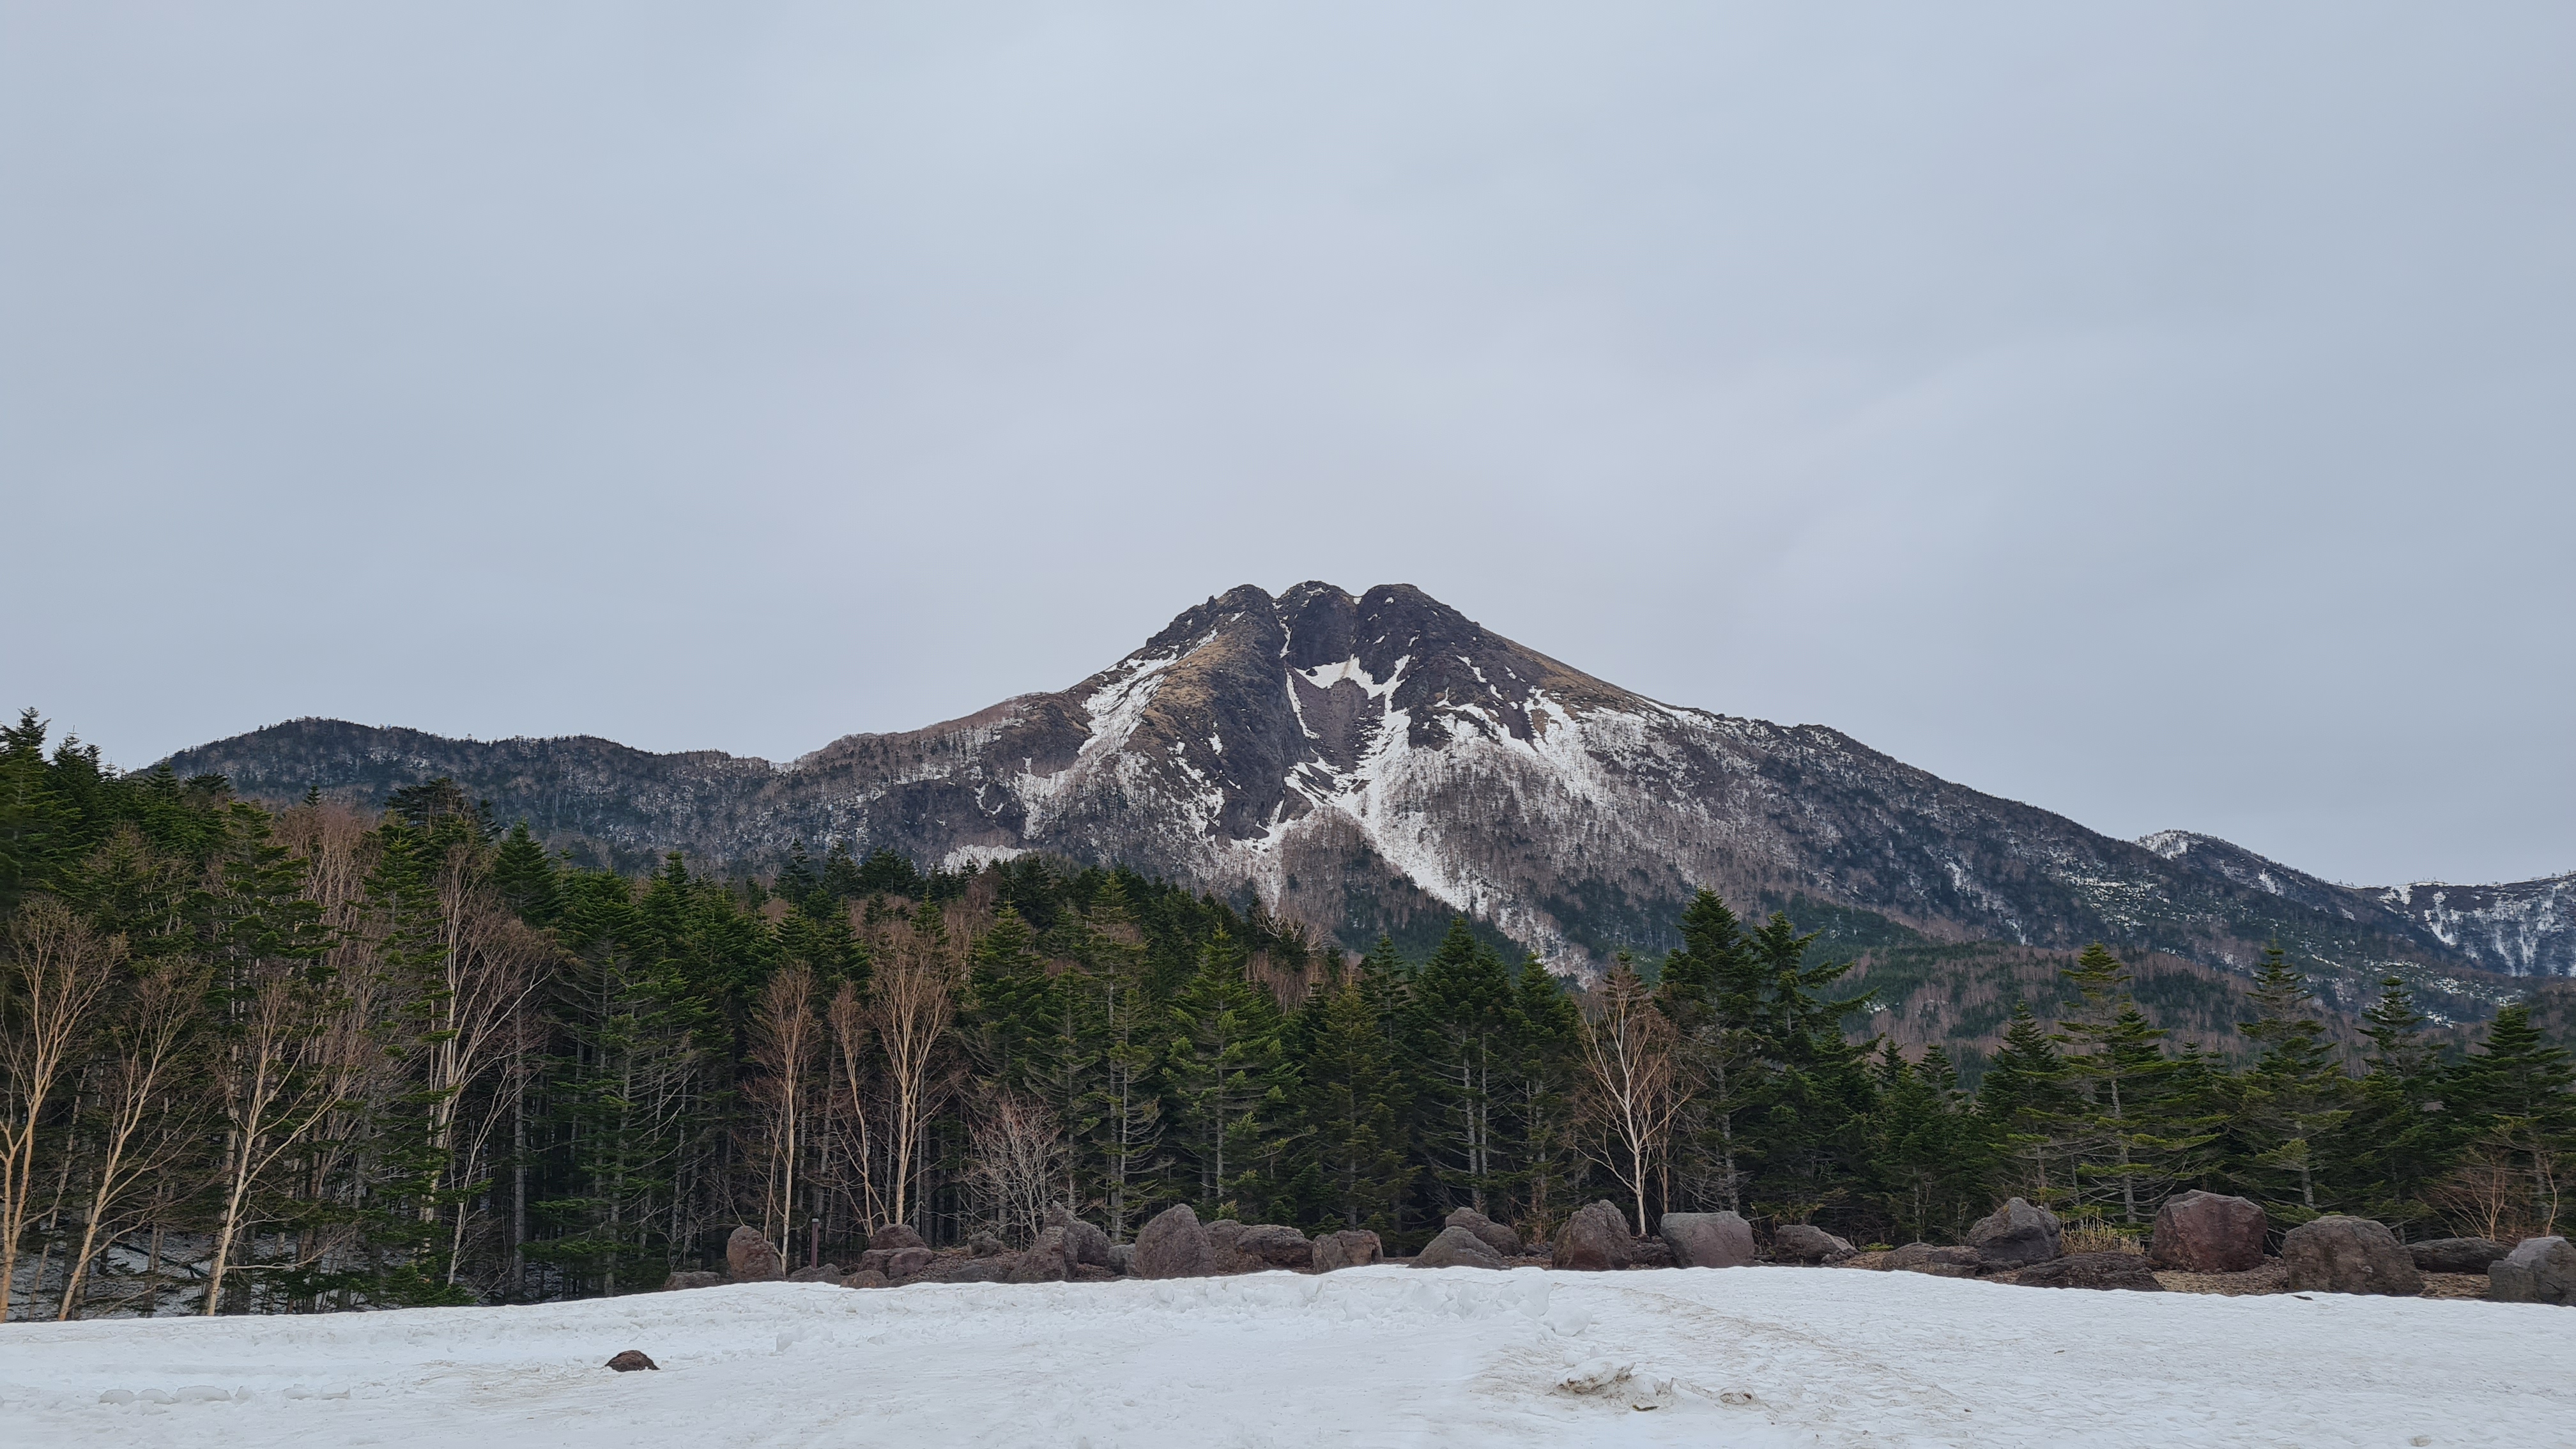
The highest point in the Kanto region, wikipedia's claim that Nikko Shirane is often hidden by clouds throughout the year was confirmed by yours truly. I went in summer and winter, both with cloudy weather.
Budget: JPY7,100 (~USD59) from Tokyo

When to Go
Winter season is around November to end of April, but do take note that this has avalanche risk.
- JPY4,000. Share in car expenses.
- JPY1,100. Required cocoheli rental.
- JPY2,000. Ropeway, round trip.
- April 24, 2022
- Summer hike log here.
- Difficulty: 3 out of 5.
- Route below is around 6.6kilometers, with an elevation change of ▲755m/ ▽755m (4h10m)
- Map link

Winter season is around November to end of April, but do take note that this has avalanche risk.
Special Notes
Itinerary was simple - take the earliest ropeway up at 8:30am, and be back before the last ropeway, 3:30pm.


- Weather forecast. English / Japanese.
- For winter hikes, a beacon is required. In Japan, there is only one allowed beacon - the cocoheli. Rental (JPY1,000 per day) is available when buying the ropeway tickets. One cocoheli per person required.
- I have the ACR beacon, but based on the blogs I've read, ACR is not allowed in Japan due to the waves it uses.
- I do not have the cocoheli as it is subscription based and unlike the ACR, it does NOT have a button to call for help if you need it. Basically, you need to call the police (110) and tell them you have a beacon to locate you. If you do not have a signal on your phone.... well, hope that someone will be looking for you and will call the police on your behalf.
- BUT, if you are not taking the ropeway, I doubt that there will be a way to check if you have the cocoheli or not.
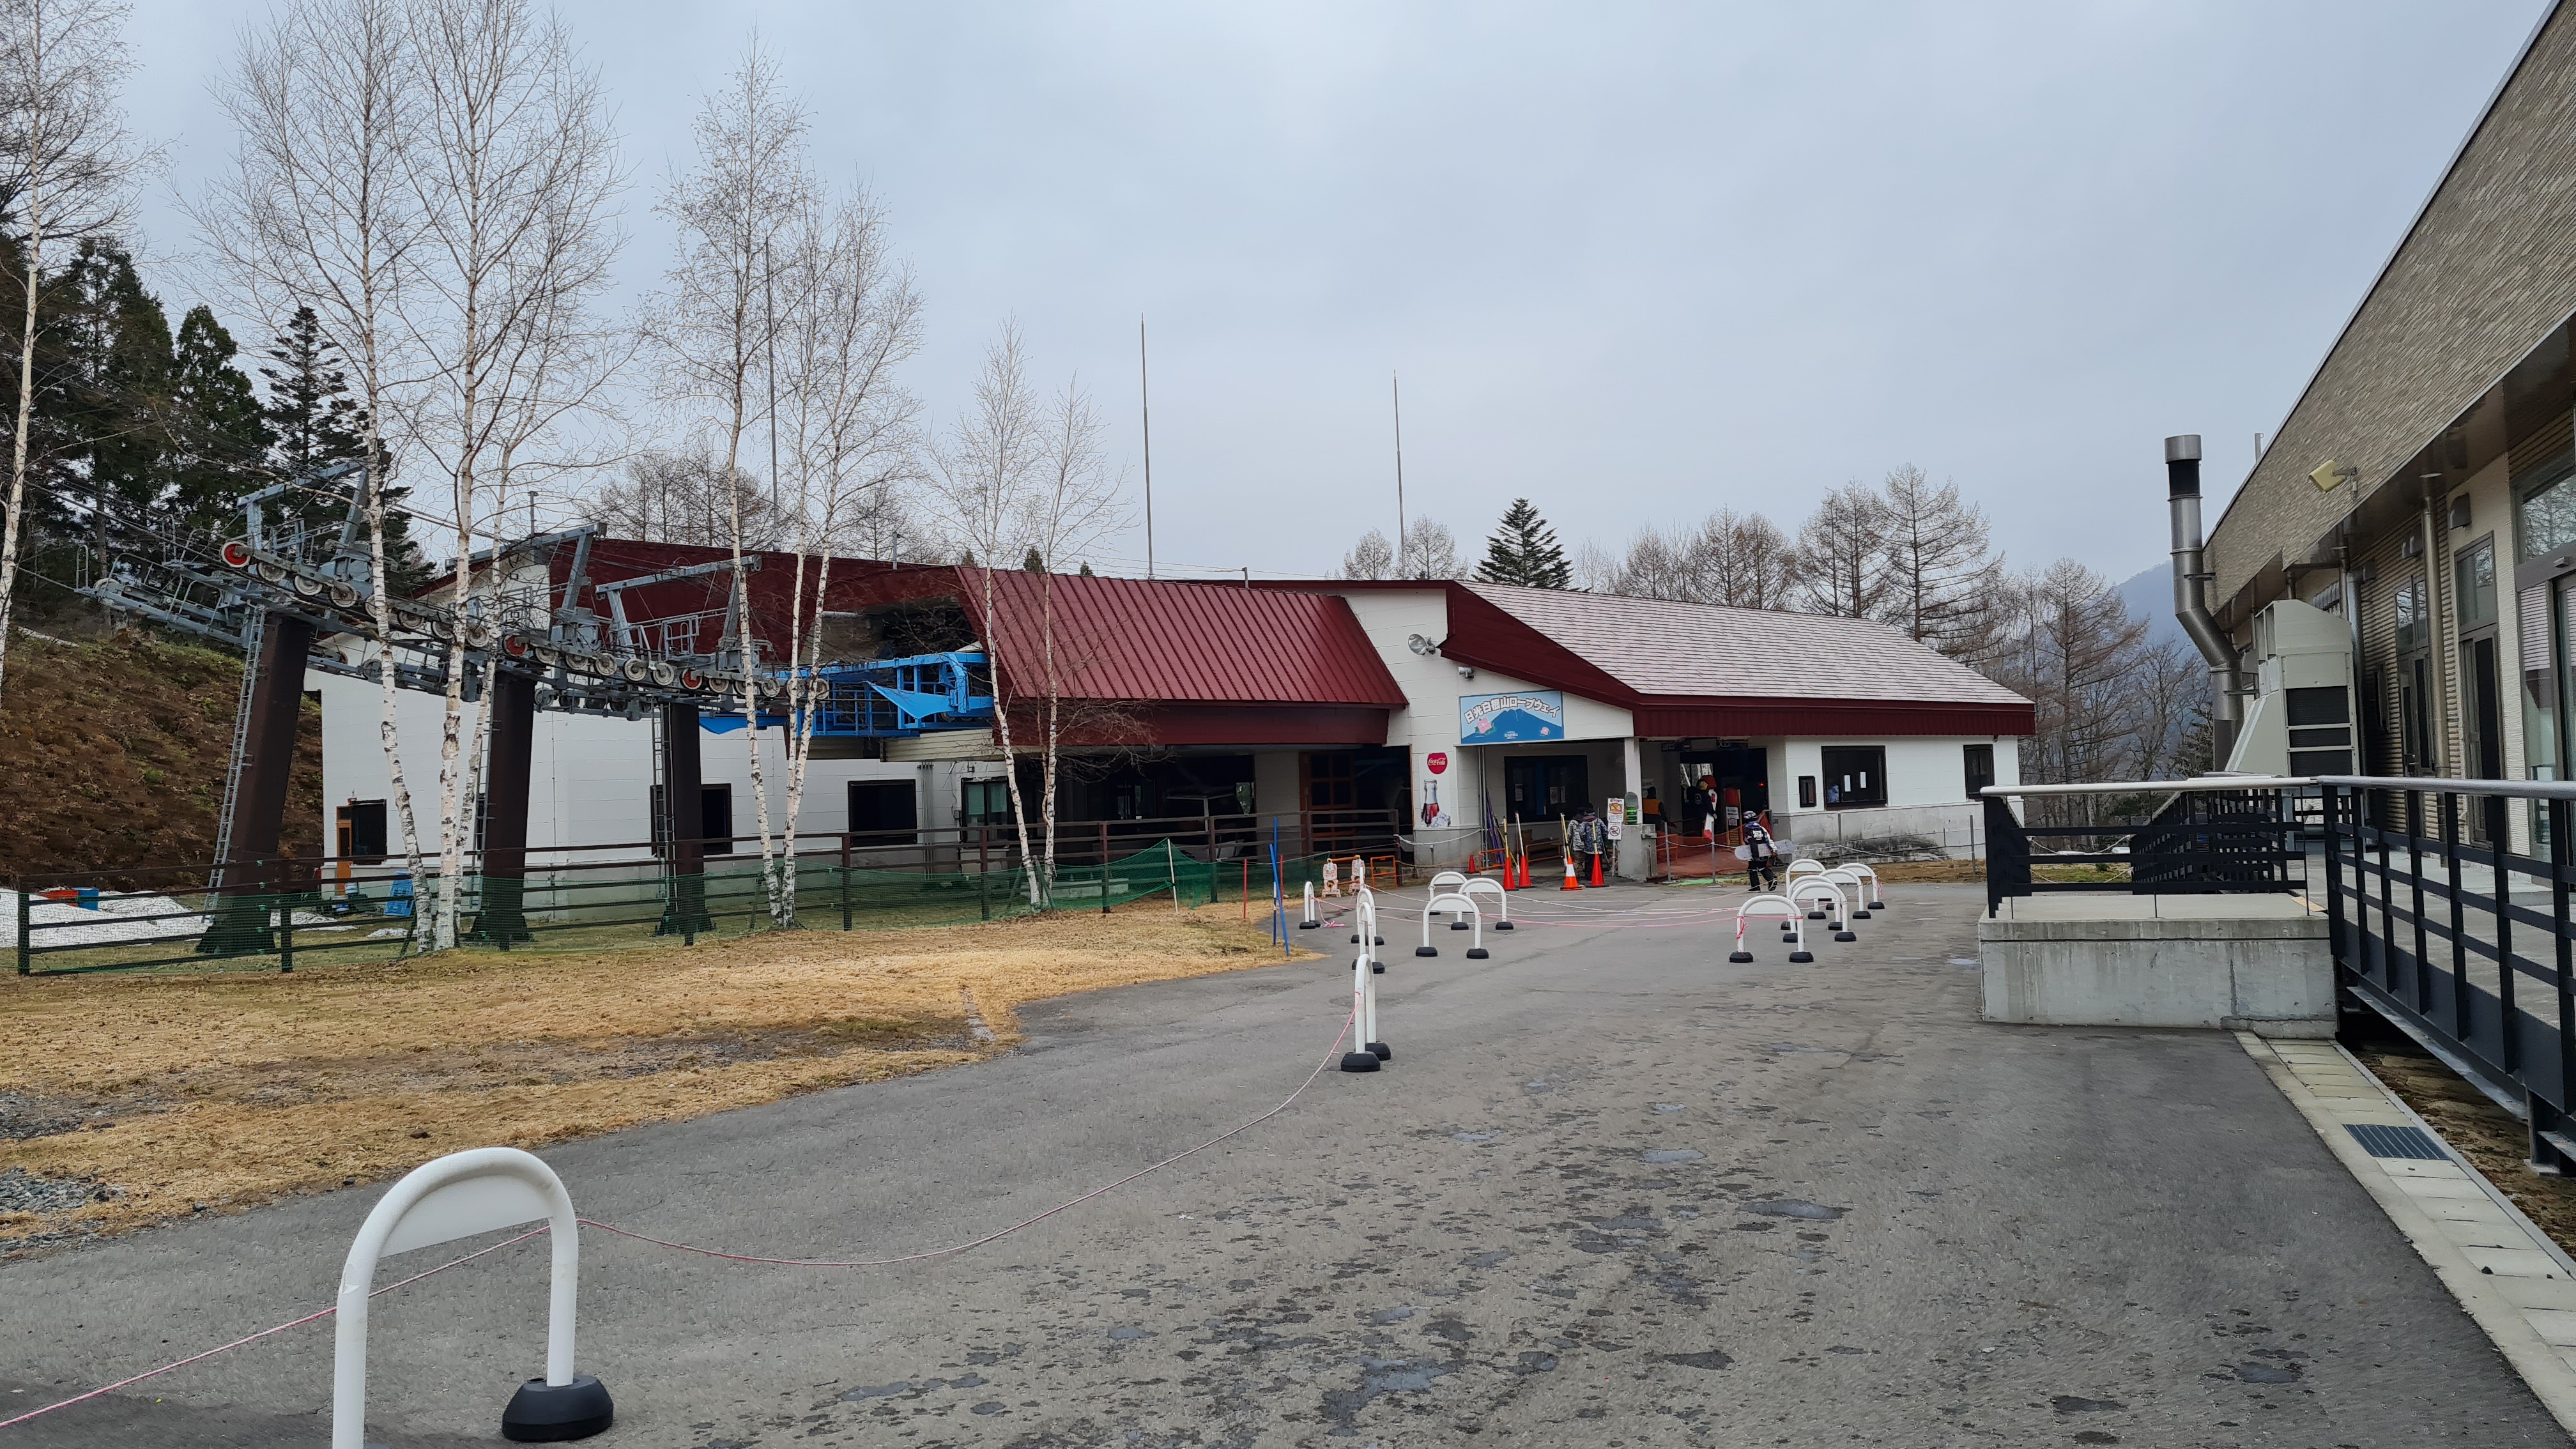
- Trailheads. I have seen logs coming from Suganuma Parking Lot and Nikko Shirane Ropeway, though I would say that the ropeway is the more popular route.
- Nikko-shirane Ropeway (日光白根登山口ロープウェイ). Google maps pin.
- Access here. There is no public transport, but a shuttle is organized from the hotels in Yumoto Onsen to the ropeway. So you'll have to stay in the hotels, or have the guts to ask those hotels for a ride.
- Suganuma Parking Lot (菅沼駐車場). Google maps pin. No public transportation. It has a camp area near it.
- Mountain huts.
- Paid. None.
- Free.
- 五色沼避難小屋. It was in a pretty sad state when we got there - inside was messy and definitely not a good place to stay at, but it'll provide a roof over your head in an emergency.
- 七色平避難小屋. Cordoned off when William checked (Thanks William!) as of April 2022. Even if you want to use it, it's also pretty sad.
- Camping. One near trailhead Suganuma. There are a couple of flat spots though, mainly at forks, that can be used for wild camping.
- Side trip: Fukiware falls (吹割の滝), the oriental Niagara Falls.
- On the way to Nikko Ropeway, we noticed a LOT of parking spaces. Apparently there's a tourist
trapspot that was one of the best waterfalls I've seen in Japan. Not in height (Kegon Falls gets that honor), but in... uniqueness? Just check this site.
Itinerary was simple - take the earliest ropeway up at 8:30am, and be back before the last ropeway, 3:30pm.
- 05:00am. Start driving, Tokyo to Nikko Shirane Ropeway.
- 08:10am. Arrived at Nikko Shirane Ropeway. Got ready for the hike.
- 08:30am. Bought our tickets for the ropeway (the tickets for hikers are in a different shorter line from the snowboarders, under "Information"). We had to fill up the Hiking Notification (登山届) / one per group and the cocoheli rental form (per person). Unfortunately, all in Japanese. It will just ask for your name, address, phone number and contact in case of emergency.
- to add


Comments
Post a Comment
Comments are like mail in my postbox. Such a nice surprise. ^__^